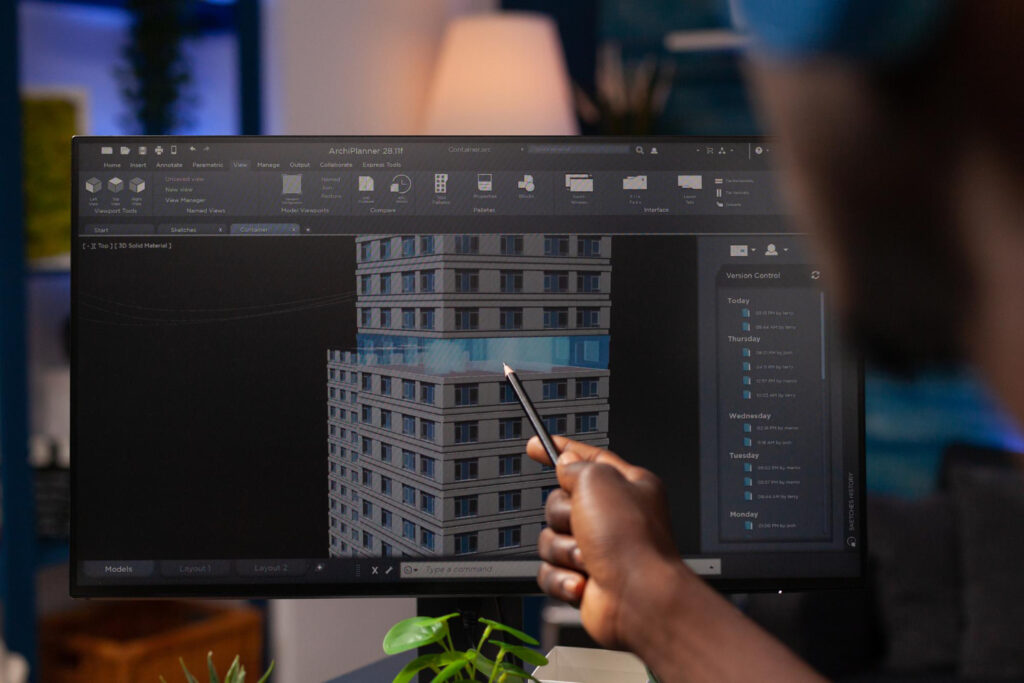
Creating photorealistic renderings is an art form that requires both technical knowledge and an eye for detail. With the integration of V-Ray’s advanced rendering engine into SketchUp, architects, designers, and artists can push the boundaries of realism. This article explores the process of achieving photorealism using V-Ray with SketchUp, focusing on scene setup, lighting, material properties, render settings, and post-processing techniques.
Understanding V-Ray’s Capabilities
V-Ray is a powerful rendering engine known for its advanced features and ability to produce high-quality, photorealistic images. When integrated with SketchUp, a 3D modeling software known for its simplicity and ease of use, V-Ray enhances SketchUp’s rendering capabilities exponentially. V-Ray for SketchUp introduces advanced lighting, shading, and rendering tools that are straightforward to use but can produce complex, highly realistic images.
Optimising Scene Setup
Scene Organisation and Cleanliness: Efficient rendering begins with a well-organized scene. This involves meticulous management of layers, groups, and components within SketchUp to ensure a clutter-free workspace. Such organization aids in the efficient navigation and rendering of scenes, especially complex ones.
Materials, Textures, and Lighting: Setting up materials and textures in SketchUp with V-Ray involves more than just applying colors. It’s about understanding how materials interact with light and how textures can add depth and realism to surfaces. Utilizing V-Ray’s extensive material library can significantly speed up this process. When it comes to lighting, strategic placement and selection of light sources are crucial. This involves not only the physical aspects but also the color temperature and intensity of the lights.
Leveraging Lighting Techniques
Natural and Artificial Lighting: V-Ray for SketchUp offers a variety of lighting options that can mimic both natural and artificial sources. Sunlight and sky systems can be used to simulate realistic daylight conditions, while V-Ray’s IES lights offer precise control over artificial light distribution and intensity.
Light Balance and Composition: Achieving a balance between different light sources is key to realism. This involves adjusting the intensity, color, and spread of lights to mimic real-world conditions. Composition plays a significant role here, where the placement of lights can influence the mood and focal points of the scene.
Mastering Material Properties
V-Ray’s Material Editor: Understanding the material editor is essential for creating realistic surfaces. V-Ray provides control over properties such as reflectivity, roughness, and bump mapping, which can greatly influence the appearance of materials.
Material Library and Texture Mapping: Leveraging V-Ray’s material library saves time and ensures realism. Further, customization through texture mapping adds uniqueness and depth to renders, making surfaces like wood, metal, or fabric appear more lifelike.
Fine-Tuning Render Settings
Render Settings Impact: V-Ray’s render settings offer control over the balance between image quality and rendering time. Understanding these settings is crucial for achieving optimal results without unnecessary computation time.
Balancing Quality and Efficiency: Techniques such as using V-Ray’s denoiser and adjusting the quality settings can help maintain high image quality while reducing render times. Selecting the right output settings, including resolution and aspect ratio, ensures the final image meets the desired specifications.
Post-Processing Techniques
Post-Processing Workflows: V-Ray integrates with SketchUp to offer basic post-processing tools, but for more advanced effects, external software like Photoshop can be used. This stage is where color correction, depth-of-field effects, and compositing come into play, elevating the realism of renders.
Enhancing Renders: Effective post-processing can transform a good render into a great one. Adjusting brightness, contrast, and saturation, or adding vignettes can dramatically improve the final image. Before-and-after examples showcase the impact of these adjustments.
Conclusion
Achieving photorealism with V-Ray and SketchUp is a comprehensive process that involves understanding and manipulating various factors, from scene setup to post-processing. By mastering these techniques, designers and artists can create stunning, lifelike renderings that blur the line between digital and reality.


